assembling - Skylan - stands
Hauptmenü
assembling
Assembly-
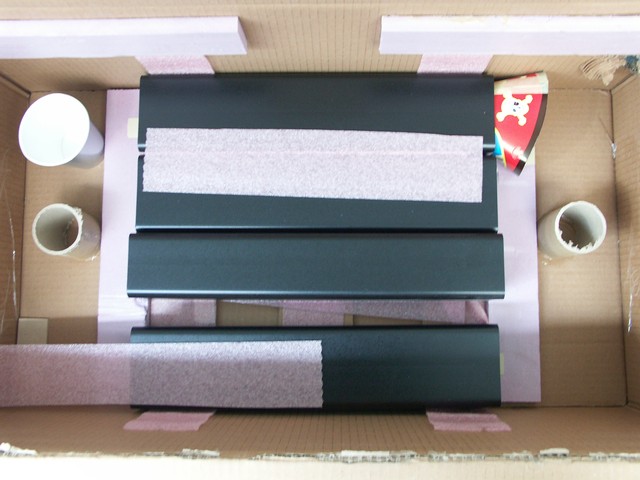
contens of delivery:
-
-
-
-
-
Click on the pictures to enlarge them!
Step 1
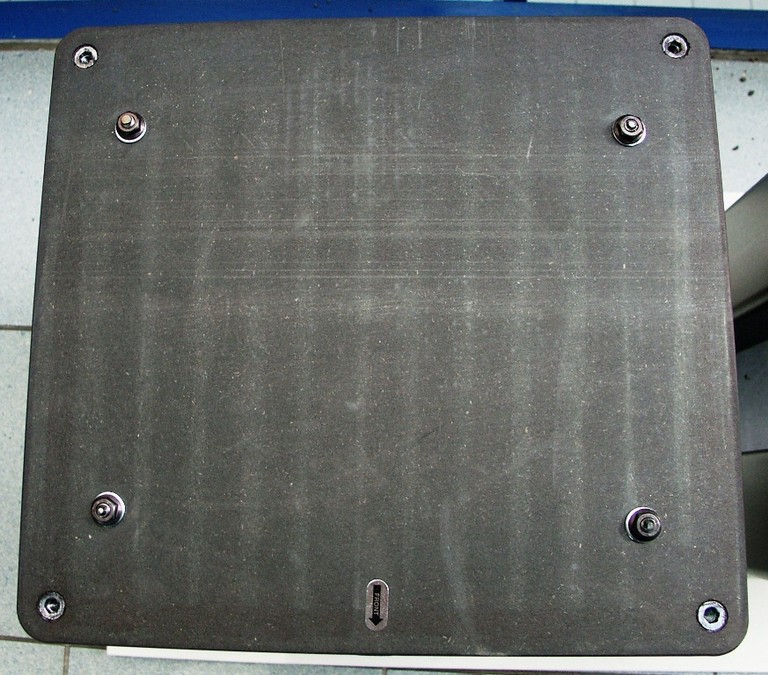
Remove the top-
Consider the marks at top-
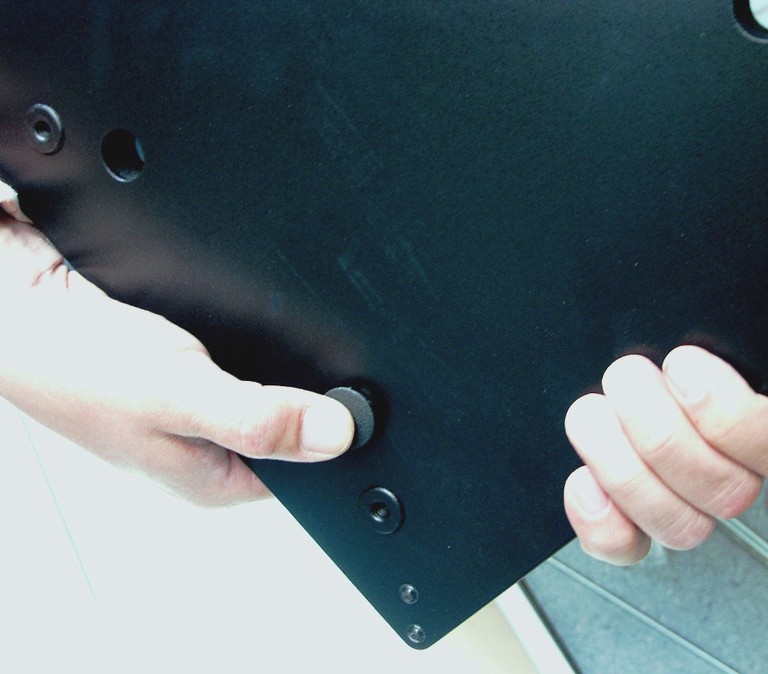
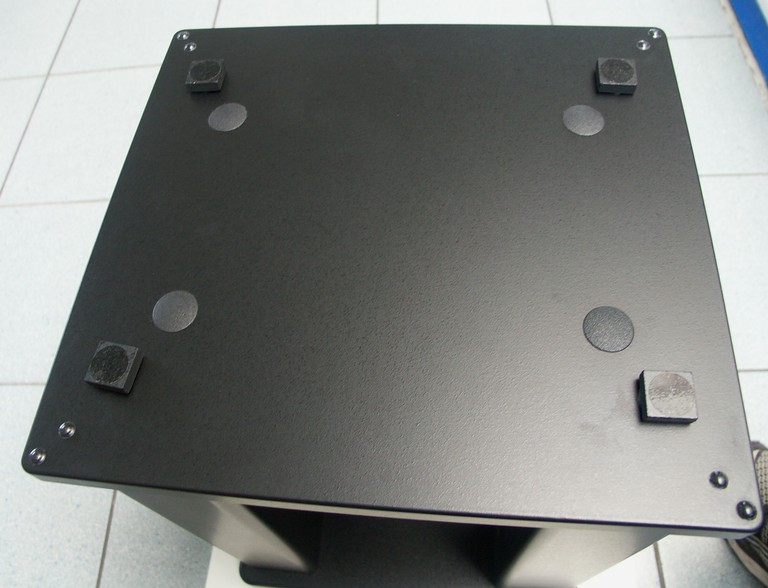
Step 2
Press all 4 pads into their respective opening.
The image shows the completed topside of the top-
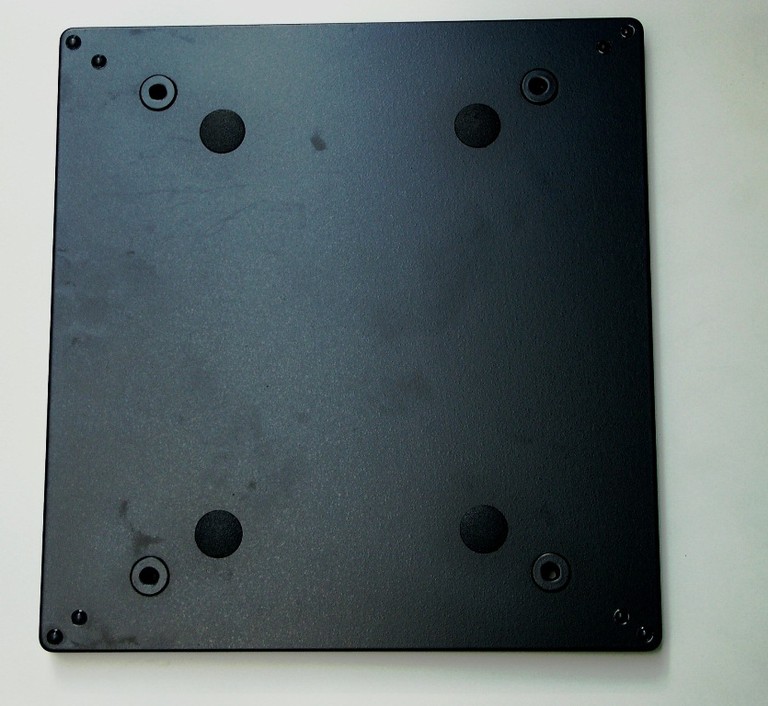
Step 3
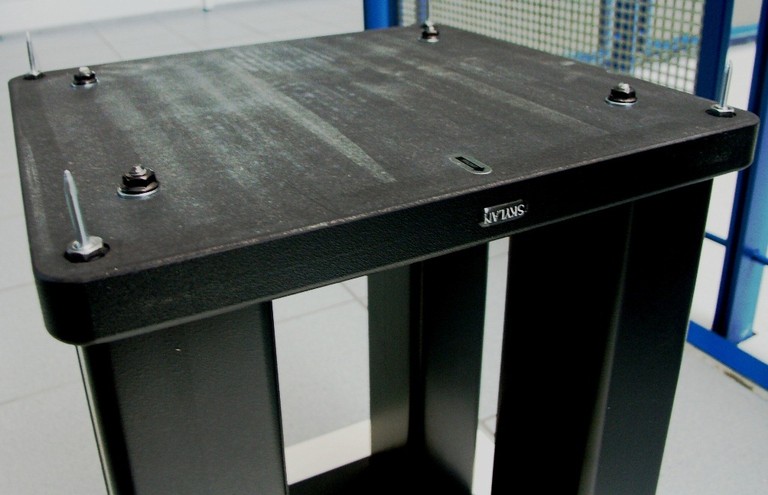
Turn the top-
Now, tightly screw the threaded-
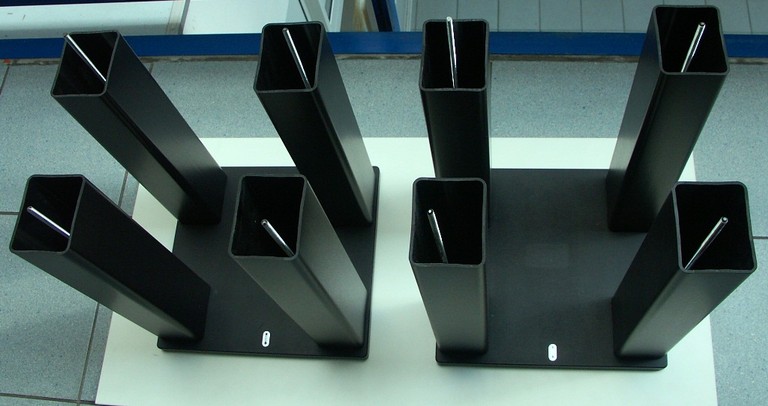
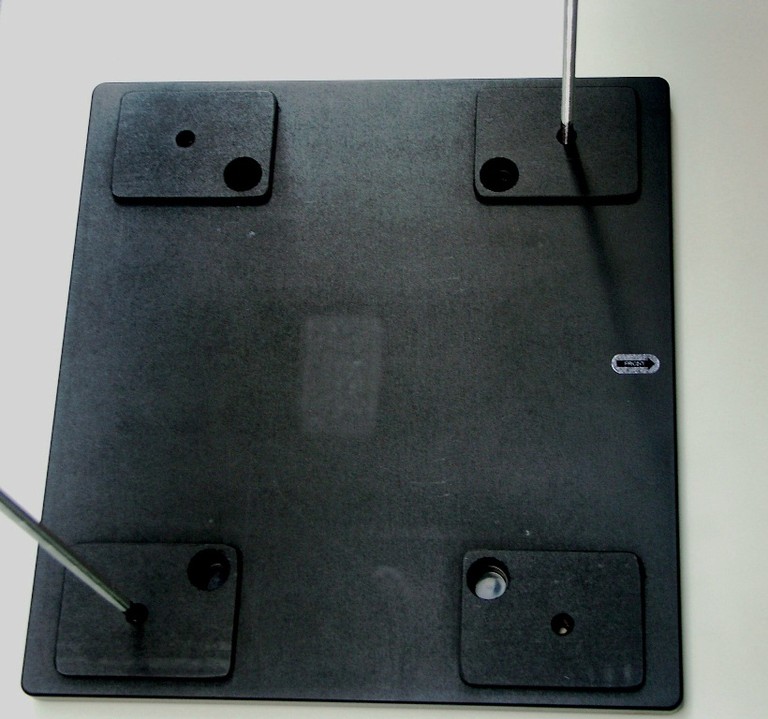
Step 4
After you placed all threaded-
The posts are supposed to lock on the plate and sit stable!
-
Take care that the post`s are well fitted on theire surfaces while filling them!
Be shure that no granulate material runs in beetween post and surface nor the top-
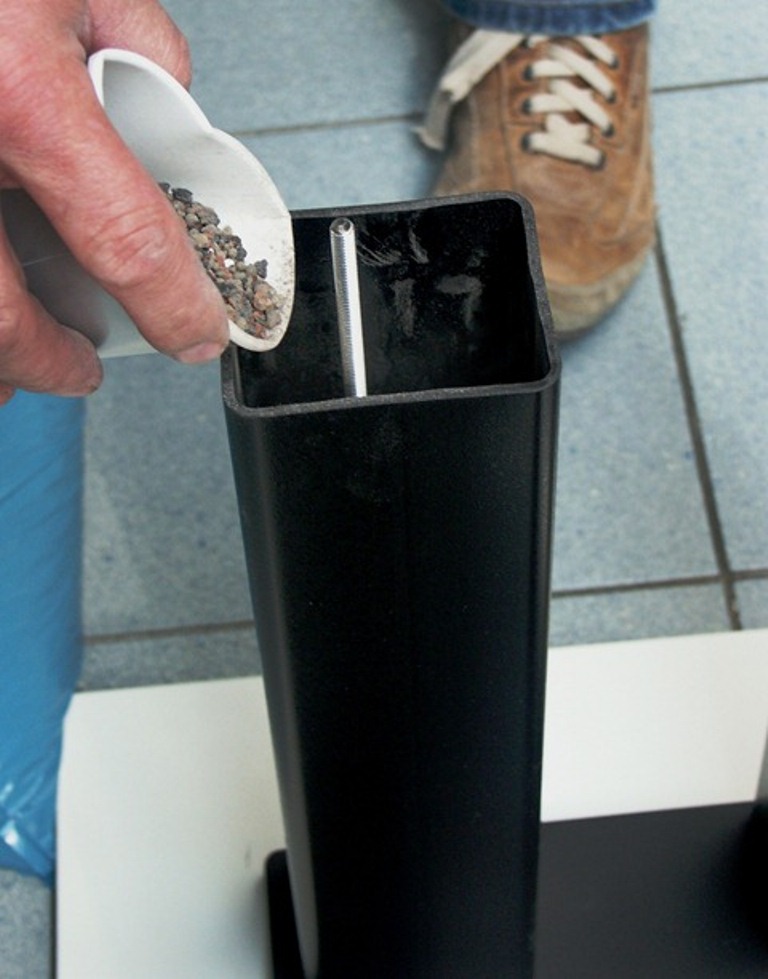
Step 5
Fill the posts with the respective filling material.
Depending on the grain size you can do this with or without a funnel.
Be minful of the fact that the threaded rods should remain in the middle of the post during this step!
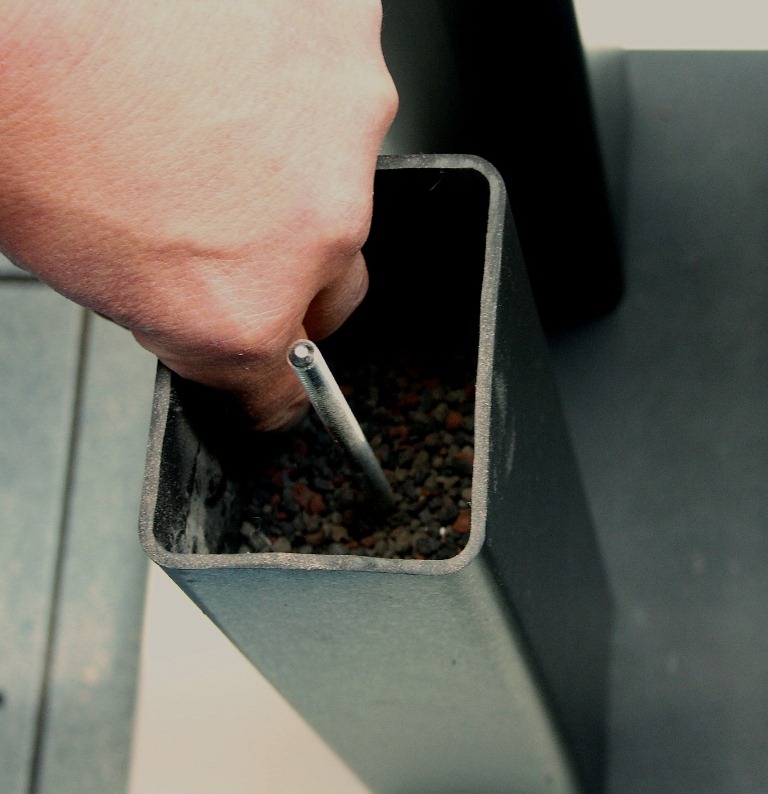
Step 6
Do not fill the posts completely!
Leave some space (about the length of a finger) unfilled.
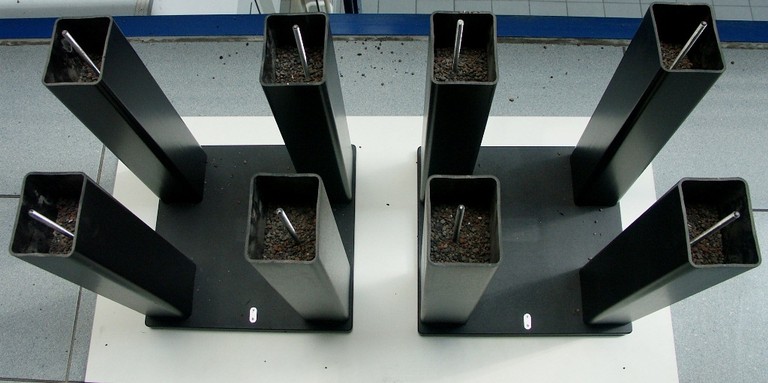
Step 7
The image shows the accurate amount of filling!
Step 8
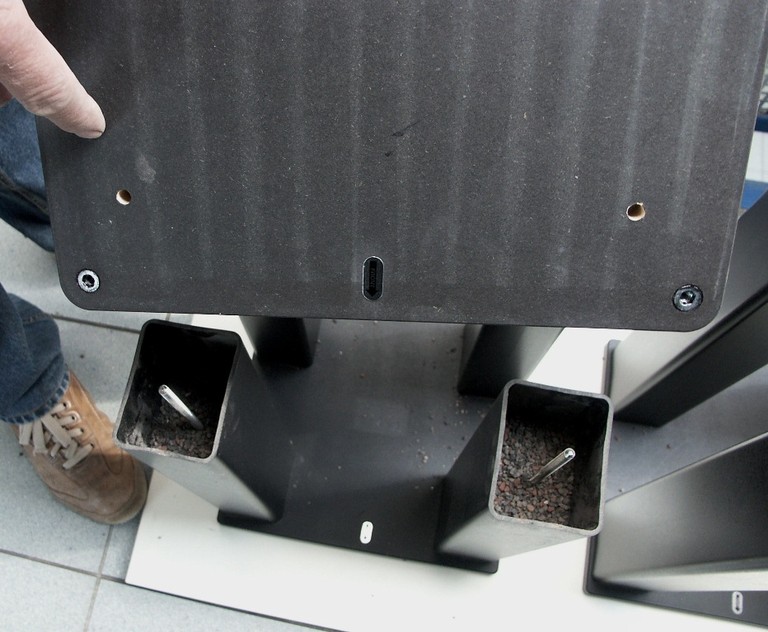
Now you can mount the bottom-
The "front" marks on bottom-

Step 9
After you have placed the bottom-
Just use your hand to screw the female screws to the threaded rods
Step 10
Now tighten the female screws with the included box wrench about one turn.
Do not screw the female screws to tight!
Step 11
Now you can, according to your need, screw either the included spikes or the parquet-
Print Site!
Step 12
the not included SKY Q-